Hair Rig
Tackle Required:
Desired Hook Link Material |
You will need about 30cm to make this rig. If you are using a coated braid strip awaay about 10cm of the coating to use on the hair part. |
|
|
| Hooks |
The hook type and size will all depend on with what size bait you are fishing. Later on we will discuss this in a little more detail. |
|
|
Bait Stop |
|
|
|
| Pop-Up or Boilie |
Any flavour will do as you only need the Bait to get the right length when tying the Hair Rig. |
|
|
Baiting Needle |
|
|
|
Scissors |
|
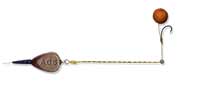
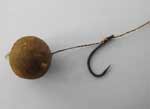
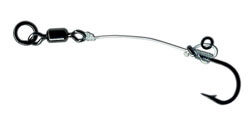
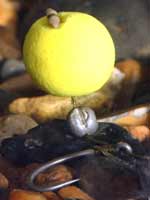
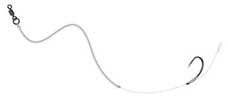
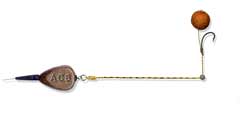
Hair Rigs are the foundation of all rigs, this is basically where it all starts when rig making is concerned. Hair Rigs can be tied using any form of hook-length material with a Knotless knot. The bait is mounted on the Hair so that it sits away from the hook and the length of the hair can be adjusted to suit the various fishing conditions. You will find that at some waters a longer hair will work better than a shorter one, depending on how the fish are feeding. Experiment with the length of hair for what suits you best.
The Hair Rig using the Knotless Knot.
1: Take your chosen hooklink material (Coated or Un-Coated Braid, Fluorocarbon, Monofilament etc.) this can be anything from around 4inches to 10inches+.
If using a coated braid strip back a section of the coating, this will normally be around 3 - 4inches. Then with this stripped section tie a small simple over hand loop.
2: Take your chosen hook bait and thread it onto the Hooklink Material using a baiting needle, then finish it off with a bait stop through your loop to prevent the bait from falling out while you are tying the Hair Rig.
3: Now thread the hooklink through the eye on the back of the hook and measure how long you want your hair to be (the hair is the section between the hook and bait). The hair can be as long as you need it to be, but don,t make the hair shorter than the length of the hook.
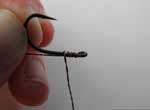
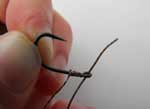
4: Now loop your tag end around the shank of your hook around 5-8 times whilse holding the length of your hair in place. Try to keep the wounds as close to each other as posible but don't let them go over each other.
5: Now push the tag end of your hooklink through the hook eye on the back of the hook, and slowly pull tight.
6: And you are done!
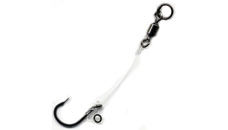
At this stage you may choose to add a small piece of shrink tubing over the eye of your hook. This is to keep grass and such from getting snaged in the hook eye. You can also bend the Shrink Tubing a bit to give it a sharper curve increasing the hooking angle.
Final Points on the Hair Rig
Even though the Hair Rig is your most standard rig it is the beginning of almost all other rigs that you will be using and the Knotless Knot also gets used on almost all types of rigs.
You can now go on to make rigs like the:

Combi Rig

D-Rig

Helicopter Rig or a Chod Rig
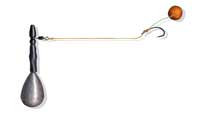
or a Pop-Up Rig
